My First Attempt at Homemade Pizza
In the slightly bizarre truths department, I must admit today that I don’t love pizza. Sure, I won’t ever push a slice off my plate, but it’s not something I generally crave. Ordering dinner for me usually means Chinese, while pizza is sadly delegated to the rare day when I’m not in the mood for Otto‘s carbonara.
It’s a shame really, because pizza is one of those things that can be a cinch to put together and quite wholesome if done right (hear that, all you New Year’s dieters?). It can be seasonal, laden with vegetables and a real fridge-cleaner: top with whatever odds and ends you’ve got in the crisper. And if you’re the type who prefers not to spend hours waiting around for dinner on a weekday night, then make this tonight. We went from grocery bag to dinner plates in under an hour, and even that long only because I kept stopping to take pictures. I went with a pre-made whole wheat dough, thus further upping the speed (and uh, laziness) quotient.
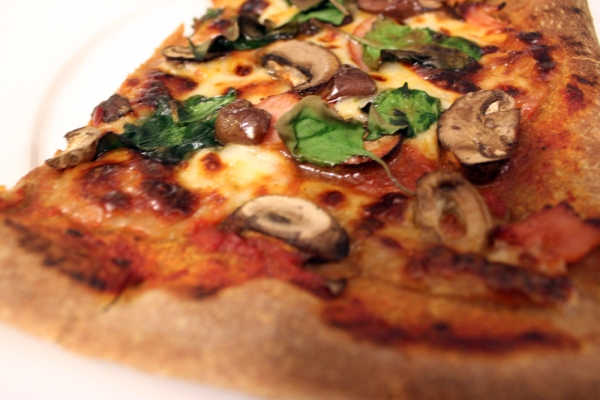
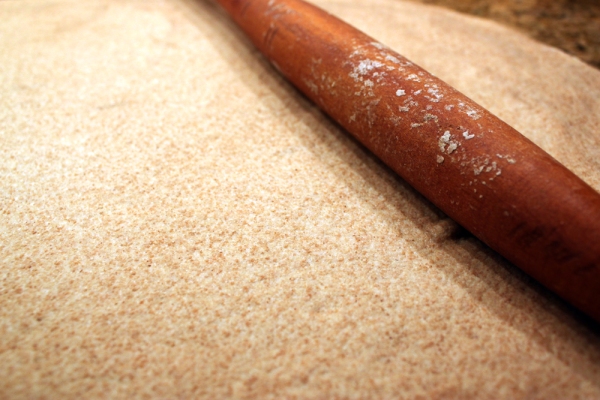
I wanted a very thin crust, so I rolled the dough, which was for a 12-inch pizza, to an approximately 15-x-8-inch rectangle. While I didn’t get the cracker-like crust I wanted, this came pretty close, as the dough was about 1/8 of an inch thick in the middle. I’ll probably leave it in the oven for a little bit longer next time to see if I get my crunchy crust.
Also for next time, if I’m feeling a little daring, the dough itself seems relatively easy. I’ve got my eye on this recipe from 101 Cookbooks.
All the credit goes to my cousin for the idea and plan, as it was his turn to choose dinner tonight.
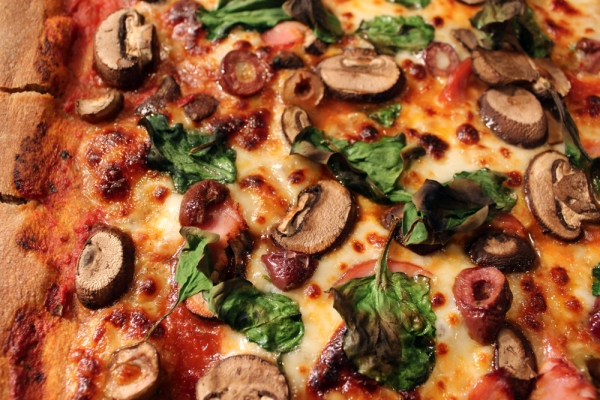
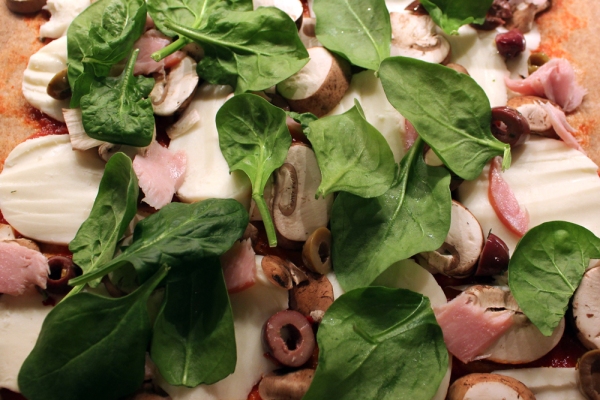
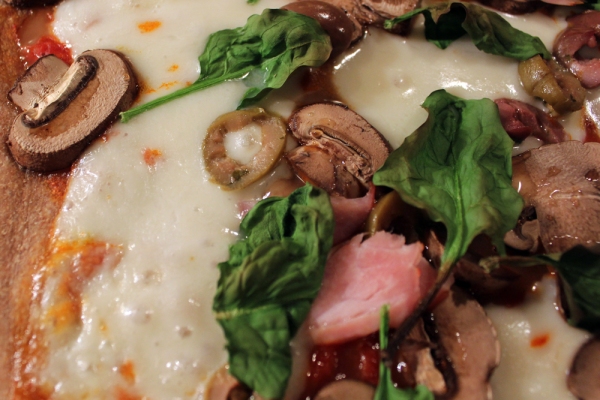
Spinach Mushroom and Olive Pizza
– 1 fresh 12-inch whole-wheat pizza dough, left at room temperature for 20 minutes (we used Trader Joe’s brand)
– Pizza sauce (again from Trader Joe’s, though I’m sure there’s an easy enough recipe out there)
– 12 ounces fresh mozzarella
– 3 slices Canadian bacon
– 6 ounces brown mushrooms, sliced
– 1/4 cup mixed pitted olives, sliced
– 6 ounces baby spinach, washed and dried
1) Flour your work surface liberally and roll the dough out to 1/8-inch thickness (for a super thin crust), flouring as necessary.
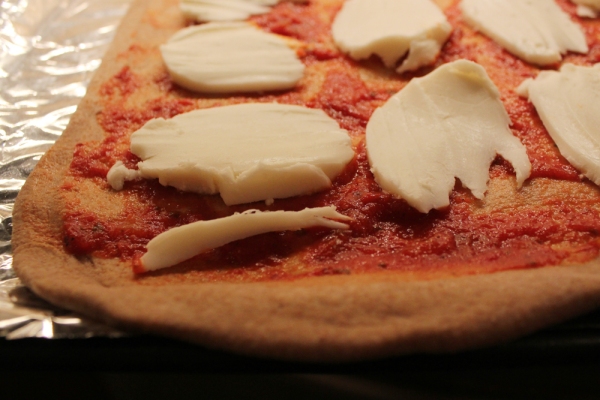
2) Transfer the crust to an oiled baking sheet or pizza stone. Top with the pizza sauce and then slices of the mozzarella. Add the mushrooms, olives, bacon and spinach.
3) Bake at 500˚F for 9 minutes. Then broil for 4-7 minutes, until the cheese bubbles and browns and the crust is crisp.
Roasted Prosciutto-Wrapped Pears
This recipe is perhaps a few weeks too late. It belongs at elegant dinner parties, with fizzy cocktails and sparkling lights and glamorous outfits. But we, my friends, have quickly passed that season to firmly entrench ourselves in a time of chunky sweaters, slush and many a gray sky. (Oh how quickly the excitement of a new year can fade.)
It’s officially winter, people — and not the good kind, with its carols and cocoa. I walked to work today battered by some weird mix of snow, sleet and freezing rain, soaking my boots in the process. At least I had memories of these lovely roasted prosciutto-wrapped pears in my belly to keep my spirits high. Or as high as they can be when you misjudge how big a pudddle is in the early morning darkness and land in 3 solid inches of ice water.
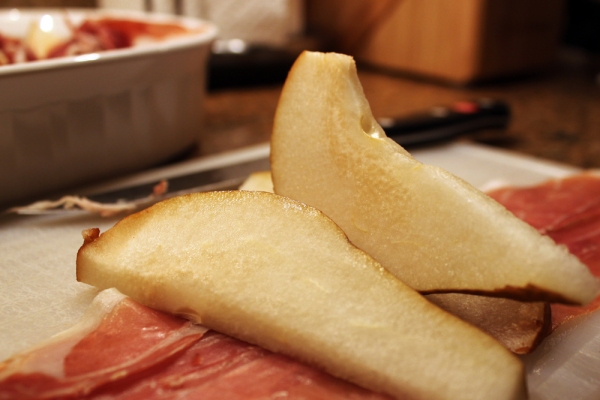
Finally, I’ve created a recipe I’m proud of. It’s no big feat, considering there’s only 2 ingredients (3 if you’re feeling fancy), but given my last pseudo-disaster while improvising, this dish turned out extremely well. It could be a nice fork-and-knife appetizer at a sit-down dinner, a salad, if you place the pears on a bed of sharp arugula, or as we ate it, a side dish to round out a nice meal. However you intend to serve it, be sure you do — it’s a nice reminder of “special” during a time when all seems blah.
Creates 5 bundles
– 1 large Bosc pear
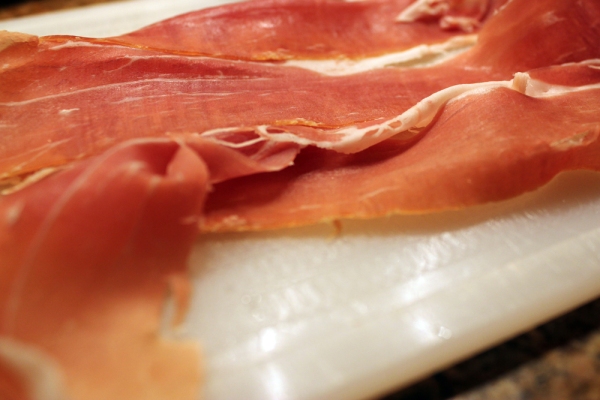
– 8 pieces prosciutto, thinly sliced
– balsamic vinegar for drizzling (optional)
1) Core and slice the pear into 15 thin slivers. I quartered the pear and then cut each quarter into four slices, with only three for the last quarter.
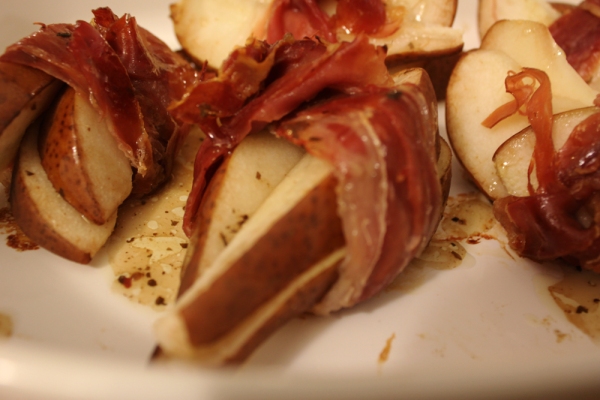
2) Slice the broad slices of prosciutto in half lengthwise, so that you end up with 16 long, thin slices. Take 3-4 strips and lay them on top of each other, then place three slices of pear on top. Fold the ends of the prosciutto over the pears to form a bundle and twist the ends to form little bows.
3) Arrange the pears in a baking dish and roast for 10-15 minutes at 450˚F, until the prosciutto is crispy and the pears are slightly browned. Drizzle with balsamic vinegar if desired. You can also arrange the pear bundles on a bed of arugula to form an easy, elegant salad.
New Year, New Goals
Happy New Year!
I love this time of year — new beginnings, new goals, new opportunities. While December 31 is my day to reflect on the year that has just passed, January 1 is my day to dream unabashedly of what’s to come (and clearly, I did a lot of dreaming, which is why this post is being written on January 2). I’m a big fan of resolutions, so I’ve got plenty, like going to yoga at least once a week, limiting my coffee consumption to a cup a day, flossing every night …
But for the purposes of this blog, I’ve got some resolutions too:
1) Posting more regularly. Naturally this also means cooking more often, which both my wallet and my waistline will thank me for.
2) More vegetarian/vegetable-starring recipes. One of my personal resolutions is to eat at least 2 fruits/vegetables a day (my low goals should indicate how often I eat fruits/veggies now … ), so I hope to embrace salads and sautés this year.
3) Try more of my own recipes. While I’ve been a little … let’s just say off … when improvising my own meals, it’s time to buck up and start creating some original recipes. It’s in my blood.
4) Host my own dinner party. I’m hoping to move into my own place at some point this year, so you know that a dinner party is coming.
5) Improve, improve, improve. Most important resolution of all: practice photography, develop a stronger editorial voice, write easier-to-follow recipes.
But while I want new and exciting in 2011, I’d still be very happy if any of these showed up on my plate:
Hopefully your new year is bigger and better than 2010!
Toasted Pecan Sandies
If there’s only one recipe you ever make from this blog, make sure it’s this one. In my opinion, these are the best cookies known to mankind and Martha Stewart’s greatest gift to this world.
I only make these sandies once a year, because I end up eating so many of them that well, that’s all the cookie hit my body can take. A few years ago, my mom got the recipe from a co-worker and asked my sister and I to make them for our family’s annual Christmas party, hoping to fob off some of the dessert duty on us. They were such a hit that a) they are requested by guests year after year, and b) my mom has entrusted us to more elaborate dessert callings. But we always have to make these first.
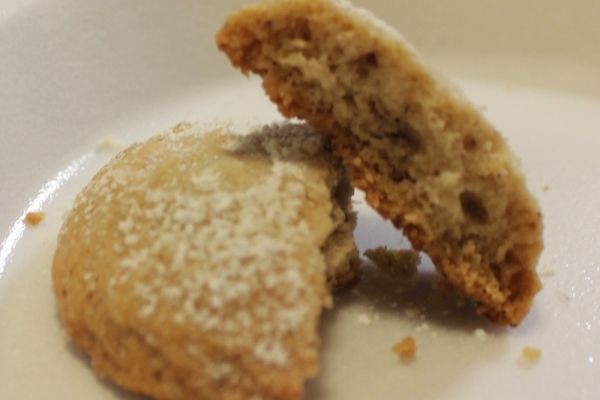
These little bites of heaven, which crumble and dissolve in your mouth with the slightest hint of sweetness and notes of rich, buttery pecans, are even better if you take the 10 minutes to toast the nuts before grinding them up. They’re so easy and so good — really, why are you sitting here reading this? Go, make them!
Yield: about 60 cookies, 1 inch in diameter
There are millions of recipes for pecan sandies out there on the Interwebs, and I have no idea which is the most traditional or revered. All I know is, if you say you’re bringing pecan sandies to my house and show up with anything other than these, I may or may not leave you standing out in the cold. Just sayin’ …
It goes without saying, but I made these a one-bowl cookie. Also, Martha doesn’t call for toasting the nuts, but I think they add a more complex pecan flavor to the cookie. Since they’re the star of the show, it’s worth taking the extra time to stick them in the oven, but I’ve had the cookies with toasted and untoasted pecans and they’re irresistable either way.
– 1 cup (2 sticks) unsalted butter
– 1/3 cup granulated sugar
– 1 teaspoon vanilla extract
– 2/3 cup whole or chopped pecans
– 1-2/3 cup all-purpose flour
– pinch of salt
– powdered sugar for dusting
1) Toast the pecans on a rimmed baking sheet for 10-15 minutes at 350˚F (your toasting time will be longer if using whole pecans, much shorter if using chopped ones — watch the oven like a hawk), tossing the nuts halfway through so that they toast evenly. Remove them from the oven and allow them to cool completely.
2) Grind the nuts finely using a coffee or spice grinder. You can use a food processor, the nuts won’t be as finely ground and you’ll get small pieces of pecan in your cookie. I much prefer the finer grind, but that may also be because I only have a coffee grinder and not a food processor — if you don’t have a coffee grinder, use the processor by all means.
3) In a large bowl, cream together the butter and sugar with an electric mixer until fluffy, about 2-3 minutes. Beat in the vanilla.
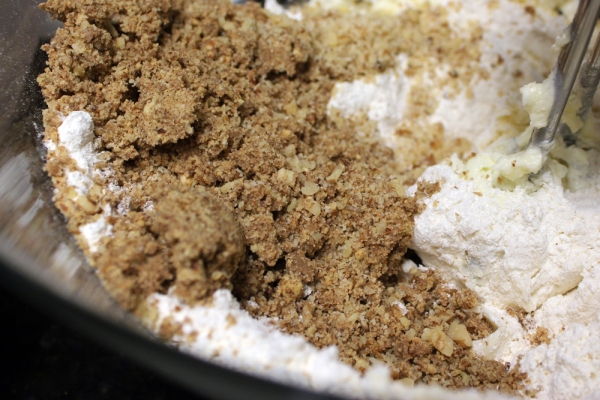
4) Add the pecans, flour and salt. Beat until combined, about 1 minute. The dough will be extremely sticky.
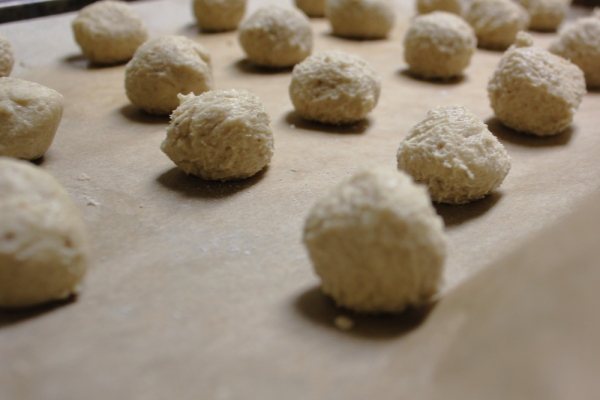
5) Flour palms and begin rolling the cookies into 3/4-inch balls. Place on a lined baking sheet about 1 inch apart. Bake at 350˚F until the edges are just beginning to brown, 20-25 minutes.
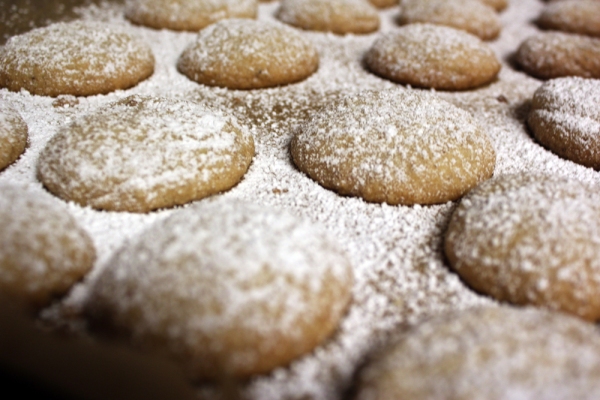
6) Sift powdered sugar on top of the cookies while still warm. Allow to cool before sharing. Or eating an entire batch yourself — I won’t tell.
Dark Chocolate Raspberry Trifle
Holiday sweets are all about excess. Think colored sugar on top of already sweet sugar cookies, thick buttercreams frosting buche de noels, rich egg nog … there’s nothing light about Christmas. And while I’m a huge fan of dessert in most incarnations, I appreciate the less sweet side of things, especially on a day when sugar is consumed with jaw-dropping rapidity.
For as long as I can remember, we’ve had trifles on Christmas. The layered dessert always makes for excellent presentation, and because the different components can be made in advance and then assembled a few hours before guests arrive, it was always a convenient option for our family’s yearly Christmas dinner.
My mom usually went the semi-homemade route, as she had you know, an entire meal for 30 to take care of. Boxed yellow cake mix formed the base, instant vanilla pudding the custard, the fruit layer consisted of fruit cups and Cool Whip formed the whipped cream topping. It was delicious, and disappeared every time.
But this year, she handed over dessert duty to my sister and I. Along with the sugar cookies (and my favorite cookie ever, the recipe to come soon!), I made this dark chocolate raspberry trifle. While I understand the appeal of semi-homemade for a busy cook, I decided my version had to be totally homemade. The recipe, which is more like a collection of recipes for the different components, is extremely manageable if you plan ahead — the cake, pudding and whipped cream can all be made at least a day in advance, and the trifle should be assembled at least four hours before serving, so that everything has time to meld together.
And the results are show-stopping. It’s a grown-up trifle, slightly sweet from the milk chocolate pudding and the barely sweetened whipped cream, tart from the raspberries, subtly rich from the moist dark chocolate cake. It’s light on sugar, with less than 2 cups in the entire shebang. You could make it more grown-up by dousing the cake with Chambord or another type of raspberry liquer, but since we had small children at our party, I skipped this and didn’t miss the booze one bit. Now that‘s saying something.
For the chocolate cake (recipe from Bon Appetit):
Other than making this a one-bowl affair, I followed this recipe more or less exactly, using a 9-x-13 pan instead of a jelly roll pan. There’s some leftover cake, but I’d rather eat moist, almost pudding-like cake for breakfast than whip out a calculator and convert this recipe to another size pan.
– 1-1/2 cups sugar
– 1-1/3 cups all-purpose flour
– 2/3 cup unsweetened cocoa powder
– 1 teaspoon baking soda
– 1/2 teaspoon baking powder
– 1/4 teaspoon salt
– 3/4 cup strong brewed coffee
– 3/4 cup buttermilk (I forgot to buy buttermilk, so instead I put 1 tablespoon of lemon juice in a measuring cup, filled it to the 1-cup mark with whole milk and let it sit for 10 minutes)
– 6 tablespoons vegetable oil
– 2 large eggs
– 1 teaspoon vanilla extract
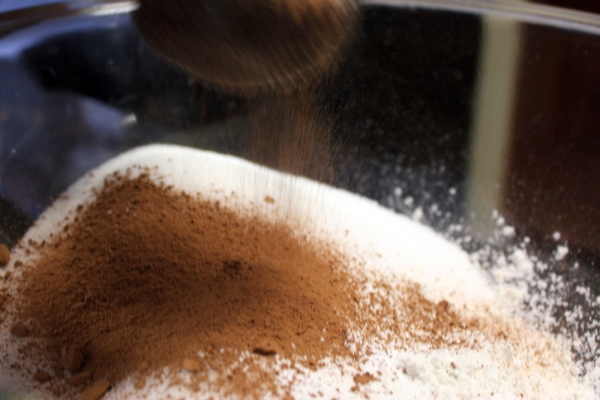
1) In a large bowl, sift together the first 6 ingredients. Add the coffee, buttermilk, eggs, oil and vanilla and mix until just combined.
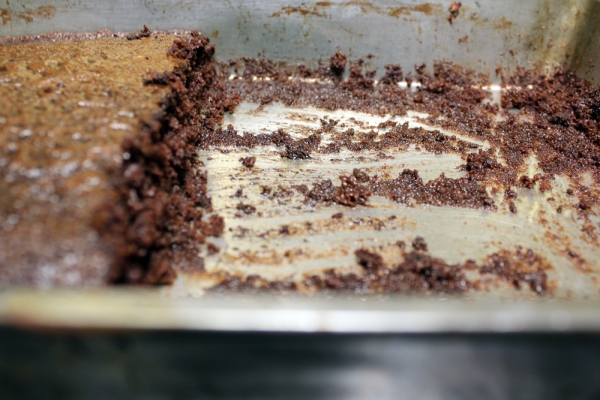
2) Transfer the batter to a parchment-lined baking pan (I did not do this, as evidenced by the above picture). Bake at 325˚F for 25-30 minutes, until a toothpick inserted into the cake comes out clean.
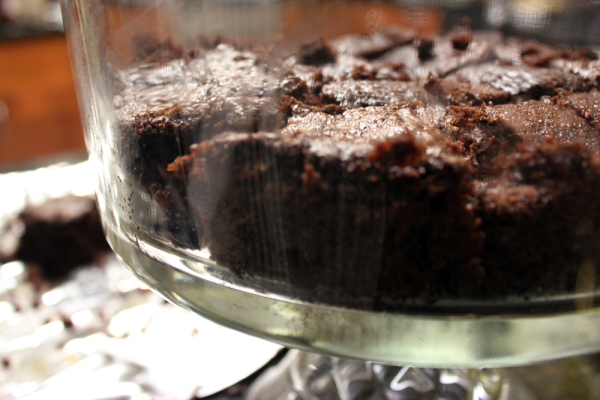
Note: You can remove the cake from the pan when it is warm, which will allow you to produce much neater cake slices for the trifle. I didn’t do this so my pieces were a little messy. Ultimately, it doesn’t matter, since the cake gets smushed together when you assemble the trifle.
For the milk chocolate pudding (recipe from Gourmet):
Traditionally trifles include an egg custard, but I didn’t want to bother with tempering eggs so I found this recipe for a milk and cornstarch pudding. It was beyond easy and so delicious — I’ve already made three batches. It’s my new go-to recipe for an easy weeknight dessert. Best part? It tastes just as good warm, partially chilled and cold, so you don’t even necessarily have to hold out on the 2-hour fridge time.
– 2 tablespoons sugar
– 2 tablespoons cornstarch
– 2 tablespoons unsweetened cocoa powder
– a pinch of salt
– 1-1/2 cups whole milk*
– 1/2 cup heavy cream*
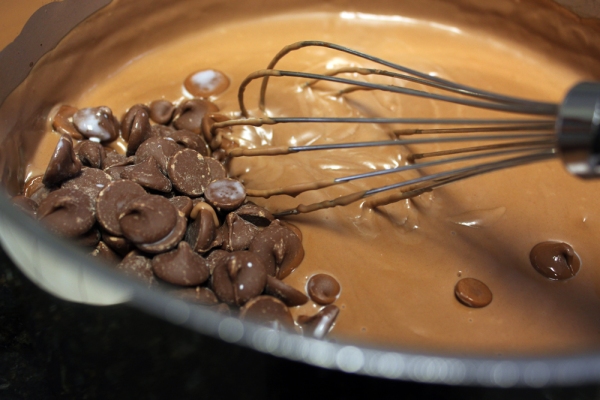
– 4 ounces good-quality milk chocolate, chopped (I used Ghirardelli chips)
– 1 teaspoon vanilla extract
*I made this with all whole milk and thought that it was just as good as the heavy cream version, though I have yet to try 2% or skim milk.
1) Whisk together the sugar, cornstarch, cocoa powder and salt in a large saucepan. Gradually whisk in milk and cream (if using). Bring to a boil over moderate heat, whisking constantly. Boil until mixture thickens, about 2 minutes — it will get thick very quickly.
2) Remove from heat and whisk in chocolate and vanilla quickly. Continue whisking until smooth.
3) Transfer to a bowl and chill, placing a piece of plastic wrap directly on the pudding to prevent a skin from forming (unless you like pudding skin, then just wrap the bowl itself). Chill until cold, at least 2 hours.
For the whipped cream:
– 1 pint heavy whipping cream
– 1/2 teaspoon vanilla extract
– 1 teaspoon sugar
1) Chill a large metal bowl and the beaters from an electric mixer in the freezer for 20 minutes.
2) Pour the whipping cream, vanilla and salt in the cold bowl and mix on high speed until firm peaks form.
To assemble the trifle:
– 12-ounce bag frozen raspberries, set out for a half hour so that they are slightly thawed
– 1 pint fresh raspberries (optional)*
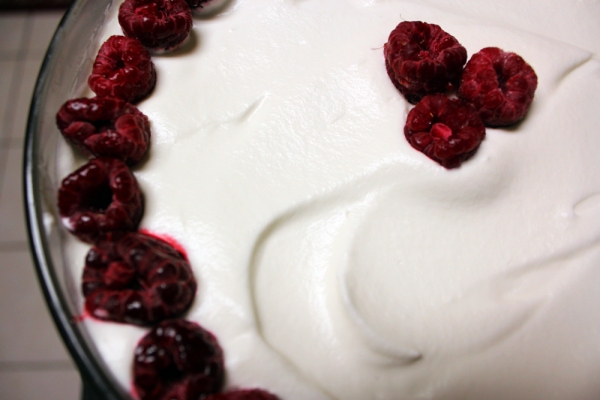
*I didn’t use fresh raspberries because they were way too expensive for their poor, midwinter quality. I just topped the trifle with the whole berries that were in the bag of frozen raspberries.
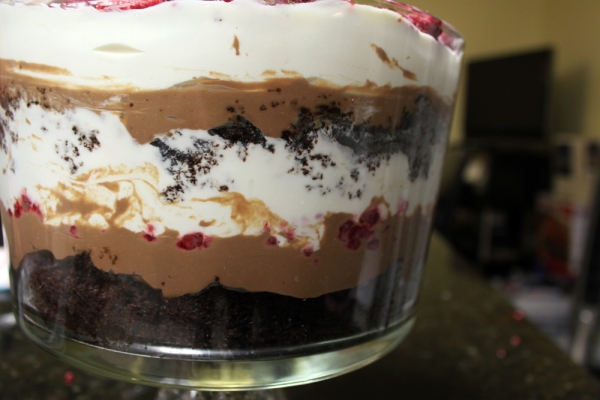
1) Cut the cake into 2-inch pieces. Place in the bottom of a trifle bowl or a large, high-sided clear glass bowl, leaving no space in between. Cut smaller slices to fill spaces as necessary.
2) Top the cake layer with half of the chocolate pudding, spreading it into any spaces in the cake layer and smoothing the top so that it is as flat as possible.
3) Remove about 30 whole raspberries from the bag of frozen ones (if not using fresh ones). Sprinkle half of the rest of the bag, including the pieces on top of the pudding layer.
4) Top the raspberries with a thick layer of whipped cream, smoothing out the berries so that the top of the partially-assembled trifle is flat.
5) Repeat the cake, pudding, raspberries and whipped cream layers. Decorate with either the whole frozen raspberries or the fresh ones.
Classic Christmas Sugar Cookies
It comes as no surprise to most that I’m obsessed with the holidays. I’m neither Christian nor Jewish, yet I love Christmas and Hanukkah dearly, for the dreidels and latkes, the gelt and the menorah, Santa and his reindeer, the carols, the lights, and above all, the cutely decorated cookies. It never ceases to amaze me how intricately people can design a piece of sugar, butter and flour — the shapes, the different frosting colors, the patterns. While I’m no big fan of sugar cookies in general, they form the best base for these designs, and so, ignoring my total lack of cookie decorating skills, I decided I needed to find the perfect Christmas sugar cookie recipe for the holidays.
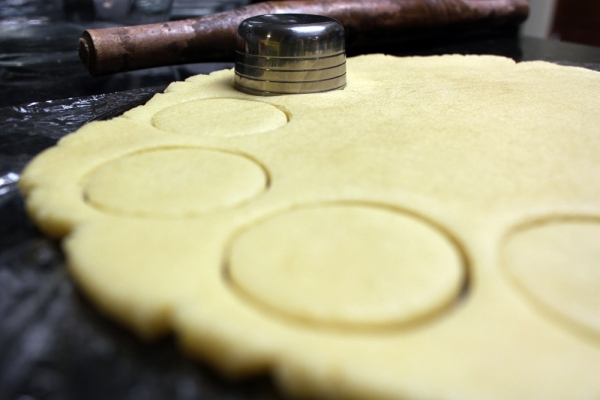
Naturally, I turned to Martha and Ms. Stewart did not disappoint. She had an array of cookie recipes, but I chose the Christmas sugar cookies for their pretty star shape. We won’t talk about why I didn’t have my assortment of holiday-themed cookie cutters, but I found that the top of a martini shaker makes perfectly sized cookies, enough to get a few good bites, but not so big that I’m too full to reach for a second cookie after I’ve finished my first. I’ll never buy a round cookie cutter again.
I changed the recipe slightly to make it a one bowl, one measuring cup affair. I also rolled mine a little thicker, as I prefer chewy sugar cookies to crisp ones. Unfortunately I’ve discovered that I lack the hand-eye coordination to make intricately frosted cookies, but these cookies look just as pretty with a little colored sugar sprinkled on top. They’re the perfect festive treat for the holiday!
Yield: 4 dozen cookies, 2 inches in diameter
– 1/2 cup (1 stick) unsalted butter, at room temperature
– 1 cup sugar
– 1 large egg
– 1 teaspoon vanilla extract
– 2 cups all-purpose flour
– 1/2 teaspoon baking powder
– 1/4 teaspoon salt
– sprinkling sugar, etc. for decorating
1) In a large, cream the butter and sugar together using an electric mixer until fluffy. Add the egg and vanilla. Mix in the flour, baking powder and salt and beat until combined.
2) Divide the dough in two and flatten each half into a disc. Wrap in plastic and freeze for at least 20 minutes, until firm. (Dough can be frozen for up to 3 months and thawed overnight in the fridge.)
3) Once the dough is slightly firm, roll out to 1/4-inch thickness, dusting dough with flour as necessary. Cut shapes using cookie cutters and place the cookies on a parchment-lined baking sheet. Re-roll the scraps and repeat.
4) Bake at 325˚F until edges are golden, 15-18 minutes. If using colored sugar, sprinkle on the hot cookie and press the sugar gently into the cookie. If icing, frost the cookie once it is cooled (add sprinkles, etc. when frosting is wet) and allow it to harden before eating, about 20 minutes.
Coffee Chocolate-Chip Shortbread Cookies
Sometimes, I’ll see a recipe that I like and sort of hem and haw my way out of making it. It won’t be the right season or the ingredient list seems a little long or it looks too complicated or maybe no one else will be in the mood to eat it or … I, a procrastinator extraordinaire, can come up with a thousand ways to not do something.
I’m very sad to admit that I did such a thing with these magical coffee chocolate-chip shortbread cookies. I found the recipe, from Dorie Greenspan by way of Smitten Kitchen, during one of my frequent summer perusals of Smitten’s archives, and filed it away in my brain. Summer was the time for blueberry crumb bars and clafoutis, not shortbread, I told myself. Shortbread is meant to be eaten with a large cup of hot chocolate in front of an open fire, preferably while roasting chestnuts or something else equally Christmas-y.
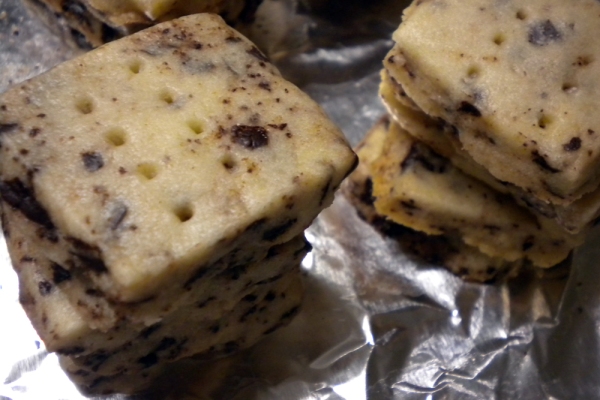
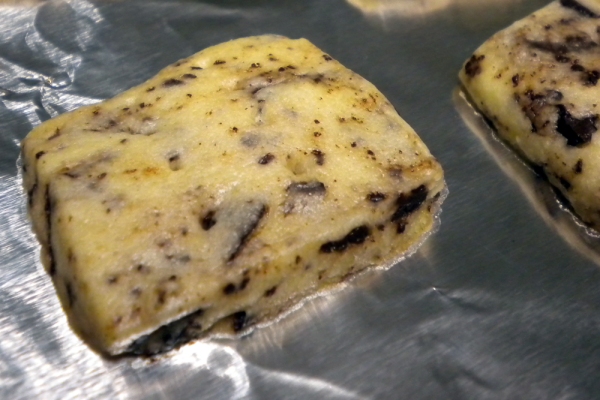
But on an impromptu trip home this weekend, with snow on the deck and Jack Frost nipping at my nose, I decided I had to have these. We even had all of the ingredients necessary (it was fate!). I was so determined to make these that I didn’t even let a lack of camera stop me, and just grabbed the old point-and-shoot. I apologize, because the pictures don’t do justice to how cute these cookies actually are.
Oh and how they taste? Well they’re crumbly and soft thanks to the use of powdered sugar, but durable enough to pack and mail to your favorite coffee lover. They are very much on the lightly sweet side, which is perfect for someone who, like me, likes their cookies a little bitter. Because I subbed unsweetened baking chocolate in for bittersweet chocolate, mine were especially bitter, which is exactly how I like my coffee, though you want to stick with the recipe’s suggestion.
But here is where I’ve done you a great disservice, my friends: these cookies, they taste even better on Day 3. They were made for shipping! So if you’re looking for something to send er, very last minute, send. these. now.
These cookies were exceedingly easy to make. They also take well to being mixed by hand (which I read is something Dorie Greenspan does when making sablés and therefore use that technique at all times), which means that your favorite little kitchen elves can certainly help out. I made two changes: I used 2 tablespoons of strong brewed coffee instead of 1 tablespoon of instant espresso and unsweetened baking chocolate instead of bittersweet chocolate, both because that’s what I had on hand. Adding a pinch or two of salt or even using salted butter might create a really nice depth of flavor for the next time I make these.
Yield: 50 1-inch square cookies
– 2 sticks unsalted butter (or salted, if you wish to be daring)
– 2/3 cup confectioner’s sugar (like I said, these cookies were not very sweet at all — maybe up this to 3/4 of a cup if you like your sweets more sugary)
– 1/2 teaspoon pure vanilla extract
– 2 tablespoons strong brewed coffee (I probably use a 2 scoops of ground beans to 1 cup water ratio when making coffee)
– 2 cups all-purpose flour
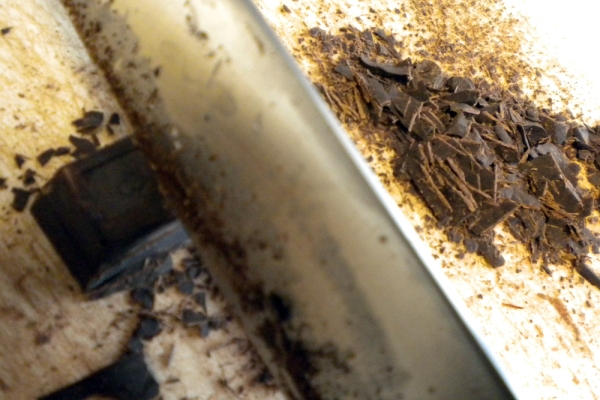
– 4 ounces unsweetened baking chocolate (the recipe calls for bittersweet chocolate and suggests toffee, which would be divine)
*Need a gallon-sized Ziploc bag
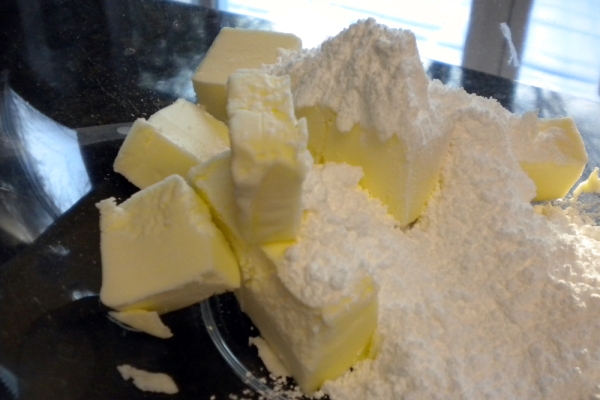
1) Beat the butter and powdered sugar to a creamy, smooth consistency with an electric mixer. Add the vanilla and coffee and mix until incorporated.
2) Add the flour in batches and use your hands to mix only until the flour is incorporated. Fold in the chocolate. Work the dough as little as possible.
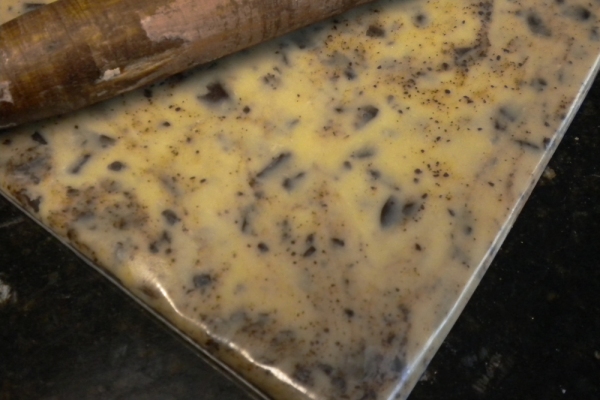
3) Transfer the dough to a gallon-sized Ziploc bag. With the top open, roll the dough to fill the bag. It will be about a 1/4-inch thick. While rolling, turn the bag occasionally and lift up the plastic so that the dough doesn’t crease. Once the dough is rolled to the shape of the bag, seal it and freeze for at least 2 hours. It can be frozen for up to 2 days.
4) After the dough is chilled, cut the Ziploc bag open and place the dough on a cutting board. Using a sharp knife, cut 1-inch square cookies. Place the cookies on lined baking sheets and prick holes into them with a fork, pressing until the fork hits the sheet (this prevents the cookies from puffing up). The cookies may break a bit, but just push the pieces back together.
5) Bake at 325˚F for 20 minutes, until the cookies are set. They will be very pale. Let them cool completely before tasting.
Hot Chocolate For Cold Winter Nights
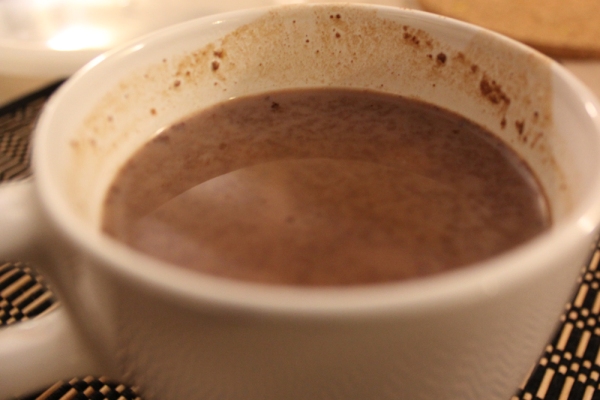
It’s been that kind of week. Cold temperatures, biting wind, flurries … makes you just want to bundle up inside with your favorite blanket and a big cup of hot chocolate. Or at least it makes me want to do that, so that’s what I did last night. I was in dire need of a chocolate fix period, and since we’re all out of crackles, I found comfort and warmth, per the usual, in the bottom of a glass. Except this glass contained a recipe I can share!
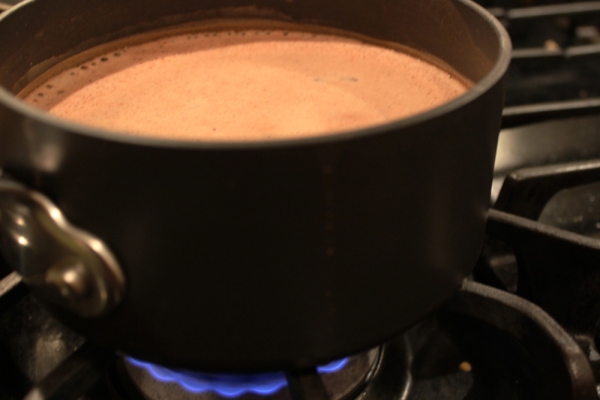
Most of the really good hot chocolate recipes call for melting bars of chocolate in simmering milk. While that’s all fine and good, I only had unsweetened cocoa powder and I sure wasn’t going back out in the cold for anything. But, in perhaps the service journalism category, this is a great mix to pack into jars and give as a holiday gift — if you know anyone that loves dark, rich chocolate, they’ll love this. I’m sure it would be even better with high-quality cocoa powder and whole milk, but the Trader Joe’s brand did me proud. Also, in an effort to get the hot chocolate in my hands as soon as possible, I kind of forgot about taking pictures … but the chocolate is definitely better than the terrible pictures I took.
– 2 cups milk
– 3 tablespoons unsweetened cocoa powder*
– 2 tablespoons powdered sugar
– 1/2 teaspoon cinnamon
– a pinch of salt
*Can also use Dutch-process cocoa for a less bitter taste.
1) In a small saucepan, heat up the milk. Add the cocoa powder, powdered sugar, cinnamon and salt.
2) Heat through, stirring occasionally, until chocolate is smooth. Strain to catch any chocolate clumps, then serve.
Note: You could vary this recipe in any number of ways, perhaps by changing cinnamon to other warm spices, such as clove, ginger or nutmeg (or fooling around with the amount of cinnamon), adding vanilla extract or simmering a scraped vanilla bean with the milk, simmering an orange peel with the milk, putting in a Kahlua, Bailey’s, bourbon, whiskey or rum for a more grown-up ho-cho. You could even steep a bag of chai tea in the milk, to create a hot chocolate chai.
Mini Chocolate Crackles
Freshman dorms are the grandest social experiment of that awkward transition from adolescence to adulthood. Stick a bunch of awkward teens at random in a room (or thanks to NYU, a pretty decent apartment with our own kitchen and bathroom), and hope they don’t kill each other? It’s the ultimate Real World, minus the staged drama and fake jobs.
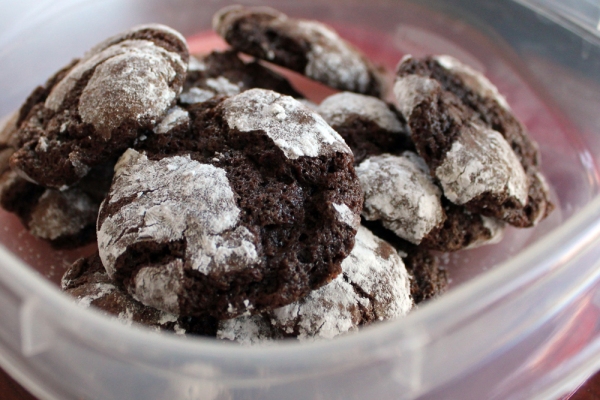
Instead of living with some of my good friends who went to NYU, I lived with three “strangers” my first year, hoping for it to be a “learning experience.” This here recipe is one fruit of such learnings, introduced to me by one of my suite-mates. Amelia made chocolate crackles for us around the holidays, saying that it was a Christmas tradition in her family. The cookies were cake-y, fudgy, perfectly chocolate-y, a much-needed treat as we trudged through our first set of finals.
These cookies are what I’d like to think are the grown-up version of Amelia’s chocolate crackles. They’re slightly bitter, from the unprocessed cocoa and limited sugar, a little lighter (think more cake, less fudge) and bite-sized. Because everything is better when it’s petite.
They’re also astoundingly easy to make, and especially nice if you’ve got little kitchen helpers in the form of young cousins, nieces and nephews or you know, kids, since their little fingers are prime for scooping and rolling and even mixing with their fingers. Also, don’t be like me and make these cookies a few days after getting a manicure.
Yield: 30 1/2-teaspoon-sized scoops
– 3/8 cup all-purpose flour
– 1/2 cup granulated sugar
– 3/8 cup unsweetened cocoa powder*
– 1/4 teaspoon baking soda*
– 3/4 teaspoon baking powder
– 1/4 teaspoon salt
– 2 tablespoons butter
– 1 teaspoon brewed coffee, at room temperature
– 1 large egg, beaten slightly
– 2 tablespoons powdered sugar + more as needed
*Not to get too science-y, but the original recipe called for 1/4 of a cup of Dutch-processed cocoa powder, which is less acidic than regular unsweetened cocoa. I only had the regular stuff on hand, so I had to add baking soda to even out the acidity. (I also added more cocoa than called for, which is why I added extra baking powder as well, since cocoa is heavier than flour.) These measurements worked perfectly, so save yourself the math headache and use this version if you’re using regular cocoa.
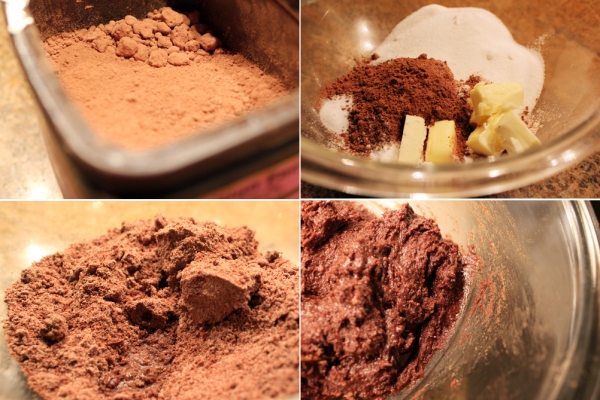
1) Mix together the flour, sugar, cocoa, baking powder, soda and salt in a large bowl. Add the butter and using your fingers, blend it with the dry ingredients. Add the coffee and egg to create a sticky dough. Freeze for at least 10 minutes, or until firm.
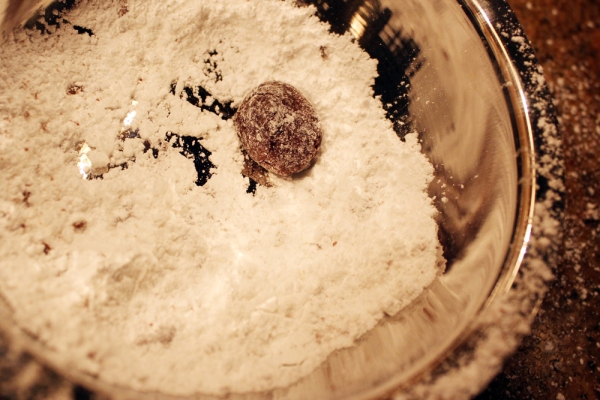
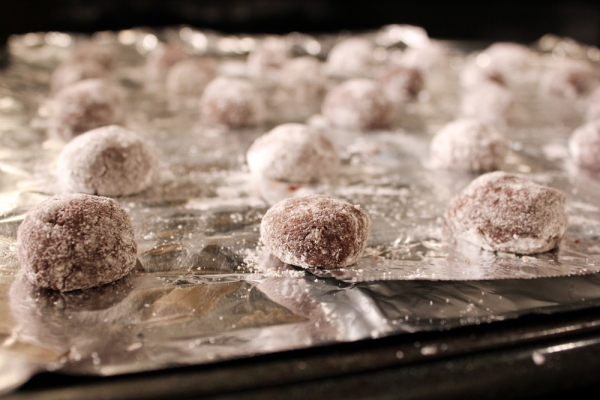
2) Pour the powdered sugar in a bowl and lightly dust your hands. Spoon 1/2 teaspoon amounts of dough onto your hands and roll into balls, then roll in the powdered sugar bowl. Arrange the balls on a greased baking sheet, a little more than an inch apart.
3) Bake at 400˚F for 5-7 minutes, until the cookies are just set. They will be slightly fudgy and cake-y inside. Allow them to cool before removing from the baking sheet — they tend to break when hot.
Basic Go-To Granola
Tis the season for gift-giving, especially in the form of baked goods. (Okay, maybe in the form of Kindles, but I’ll save that wish list for another day … yes, I have no shame.) But considering that the 25 days of Christmas and the 12 days of Christmas and the month of December have all become excuses to trot out the best and most delicious cookie recipes, there’s no doubt that this time can be a cruel month for those trying to limit their excess to only the 25th.
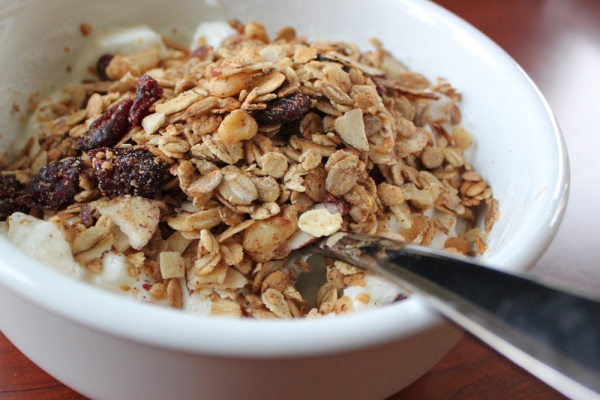
Enter this granola recipe. First of all, who doesn’t like granola? Swirled into some thick Greek yogurt with fresh berries, it’s the only breakfast I consider worth the 15 minutes of sacrificed sleep. But it’s great as a mid-morning snack, mid-afternoon snack, midnight snack, and when you make it yourself, you can control exactly what goes in it. Plus, packed in an airtight jar, it makes a wonderfully thoughtful gift for friends and family members who wish to end their year in a slightly more wholesome way. (I, on the other hand, accept all holiday cookies, and won’t turn down a chocolate bar or two either.)
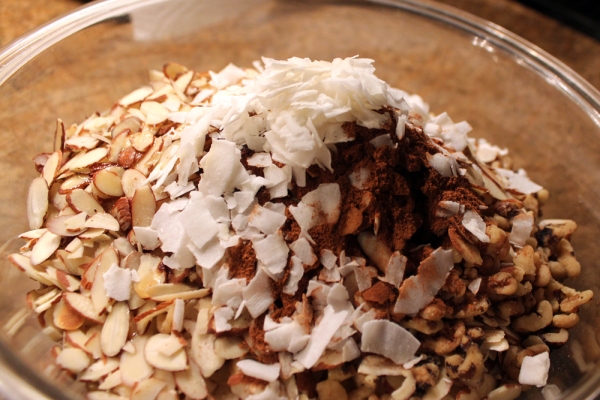
The best part about granola is that it is not a hard-and-fast recipe by any means. I used a formula from Chocolate & Zucchini, but basically tossed in whatever I had in my pantry. Got a couple of cashews, a handful of almonds and a quarter-cup of chopped walnuts left over from Thanksgiving? Throw them in there! Don’t know what to do with that half bag of Craisins that you bought for stuffing? Granola. You could make this 100 times and never use the same ingredients twice, because there’s that much leeway to add what you want. But I’ve been mainlining this since I made it, so I have to say that the below “recipe” yields some pretty good stuff.
– 10 ounces oats (I used a “multigrain” mix of oats, barley, wheat and rye)
– 6 tablespoons maple syrup (you can also use honey or agave syrup)
– 1-1/2 cups mixed nuts (I used a blend of chopped walnuts and sliced almonds)
– 1-1/2 tablespoons cinnamon*
– 1/4 teaspoon nutmeg*
– 2 tablespoons vegetable oil
– 1/2 tablespoon vanilla extract
– 1/4 cup unsweetened dried coconut chips**
– 1 cup dried fruit (I used cranberries)
*These amounts added a very distinct cinnamon taste to the granola. If you’re cinnamon-averse (which I usually am, though I enjoy it here), start with 1 tablespoon. You can also add other warm spices like ground ginger, cardamom, allspice, ground cloves, etc.
**Truth time: I hate coconut, in all its various forms. But the chips didn’t add a coconut flavor, rather more of a nutty, toasted, slightly sweet flavor. I won’t be eating anything coconut any time soon, but the chips work here, for inexplicable reasons.
1) Mix all of the ingredients, except dried fruit and optional chocolate chips or chunks, in a large bowl until combined thoroughly.
2) Spread on a lightly greased rimmed baking sheet and bake at 300˚F for 10 minutes. (Clotilde recommends starting in a cold oven and allowing the granola to bake while the oven is preheating, since the granola doesn’t need to be immediately heated. I thought this was an excellent idea and promptly forgot to do it. Either way works.)
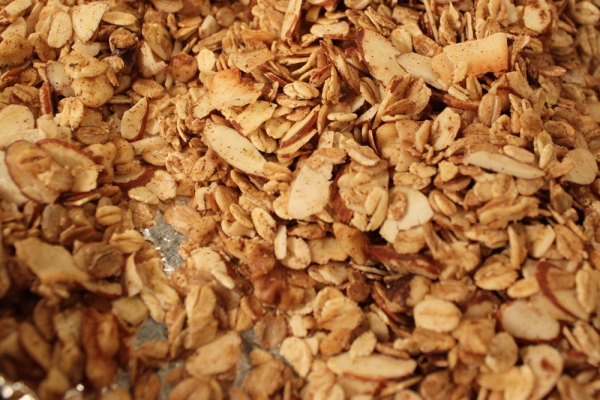
3) After 10 minutes, stir the granola, making sure to get the edges especially, and put it back in the oven for another 10. Continue to do this until the granola is browned to your liking. (I took mine out after 30.)
4) Allow the granola to cool completely on the baking sheet before adding in the dried fruit and chocolate, if using. Store in an airtight container.
Note: This recipe doesn’t yield “clumps” per se, which I prefer. But if you’re looking for bigger pieces, you might start with one tablespoon of oil and go from there.
